When you look at a sequence diagram, you probably immediately think that it’s extremely difficult to create, however, this isn’t entirely true. And, if you need to create a UML diagram, the article below will shed some light on the things you’ll have to do, so, without further ado, let’s take a closer look at the steps you’ll need to take:
Step 01: Firstly, Opt For The Program
Before you can do anything else from this list, you’ll have to choose the UML diagram tool that you’ll use. Now, there are endless options on the market, hence, it’s really up to you to choose the one that will suit your needs and skills. Once you choose the software, you can move on to the next step.
Step 02: Know What Components You’ll Need
There are a few things that you could utilize this diagram for. With it, you could opt for displaying the features of a UML application case, you can represent how a compact arrangement or process operates, you can see how different things and elements interact with one another, and you can also map up an actual or potential situation.
This is why you need to identify what components need to be diagrammed. For instance, if you have to represent a login flow, the 2 components you’ll have to represent are the user and the site they’re using, hence, you’ll need to components in order to see how they interact. And also, you’ll need to determine what messages/info will the parts send.
Step 03: Attach The Shapes
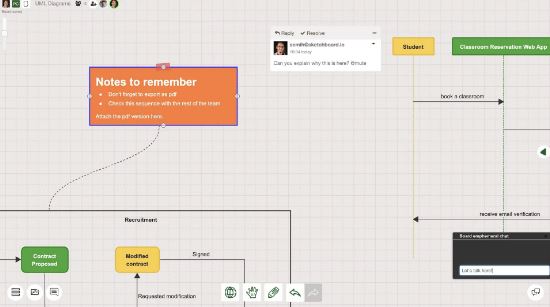
Depending on the program you’ll use there is probably going to be a vast library of conventional shapes that you need for creating such a design. Just find the ‘Shapes’ option, click on it, and then press on the ‘Shape Library’. If you don’t like any of the patterns offered, you could always choose to place your own from another source.
Step 04: Automate The Entire Process
There will also be a feature that will enable you to speed up the entire process of building this diagram. It’ll enable you to create an appealing sequence diagram in a simple and fast way. If you automate the entire process, you’ll be able to produce it solely by typing in the orders.
Step 05: You’ll Have to Manually Build it
Once you have opted for the shape, one of the simplest things that you’ll need to do is drag and drop the patterns to the blank page. Hence, you should add some boxes to the top of the page, one for every part you’ll need, and then, you should label each of them with the title of the element.
You’ll need to design the ‘flow’ of time, which is something that you could do by simply ticking and moving the lines that you need to produce. Lines that are dotted will show themselves right away. For how long your make these lines will depend on the number of messages that you need to represent in the design.
Step 06: Add The Messages
In order to make the message, you’ll need to drag the activation box from the library. In most cases, it’s a thin and long rectangle. So, you should drag it to the line you want and simply modify the size according to your needs. Once you have placed it, you should click on it and move the text out. To label it, simply click on it and type away.
Step 07: Format it
Before you press on the ‘format’ button, you should double-check in order to ensure that everything is lined up properly, that all your messages are accurate, and that you added all the parts you require. Once you guarantee that everything is okay, you can simply press on the format button and you’ll be good to go.
Step 08: Publish it!
Once you’re done with all the aforementioned steps, you could choose to distribute and share your diagram. Again, depending on the program you utilize, you may be able to automatically share it by utilizing the site, but in some cases, you might need to send it to the person or people that need to see it.
Conclusion
As you could learn and see, creating a UML diagram is actually quite straightforward. And, if you decide to follow the steps mentioned in the list above, you’ll be able to make the entire process even less daunting, complex, time-consuming, and more importantly, you’ll ensure that you do everything properly.


Lastest Posts
Lifestyle
Big Game Hunting in The Iberian Mountains: Must-Visit Destinations for Hunters
Education
How machine translation is changing the industry: When to use it and when to avoid it?
Health
EEG Analysis: Technology Connecting the Brain to the Future
Marketing
Advancements in Solar Panel Technology: Illuminating the Path to a Sustainable Future
Lifestyle
How to Build a Capsule Wardrobe: Essentials for Every Man
Lifestyle
Women in the Catholic Church: Roles, Recognition, and Calls for Change
Marketing
Experiential Marketing for Brands: Crafting Unforgettable Consumer Connections